
Looking for a fun way to give your outfits a creative edge? Iron-on patches are a classic fashion DIY that’s made a comeback—seen on everything from runway denim to Gen Z backpacks. Whether you’re customising a vintage jacket, debuting your custom made iron patches, or covering up a fabric snag, patches let you get expressive without the need for a needle and thread.
What Are Iron-On Patches and How Do They Work?
Iron-on patches are fabric-backed embellishments with a heat-sensitive adhesive that melts under an iron. When applied correctly, they bond to your clothing permanently—creating a stylish and durable upgrade. These patches are available in many forms: embroidered motifs, printed graphics, logos, and even personalised emblems.
According to The/Studio, you’ll get the best results when applying patches to sturdy natural fabrics like denim or cotton. However, for synthetic or delicate materials, it’s better to sew them on or choose a low-temp adhesive option.
Supplies You’ll Need
Before you start, here’s what you’ll want to have nearby:
- A freshly laundered, flat garment (cotton, denim, canvas, or linen recommended)
- An iron-on patch
- A clean tea towel or cotton cloth (to protect the fabric and iron)
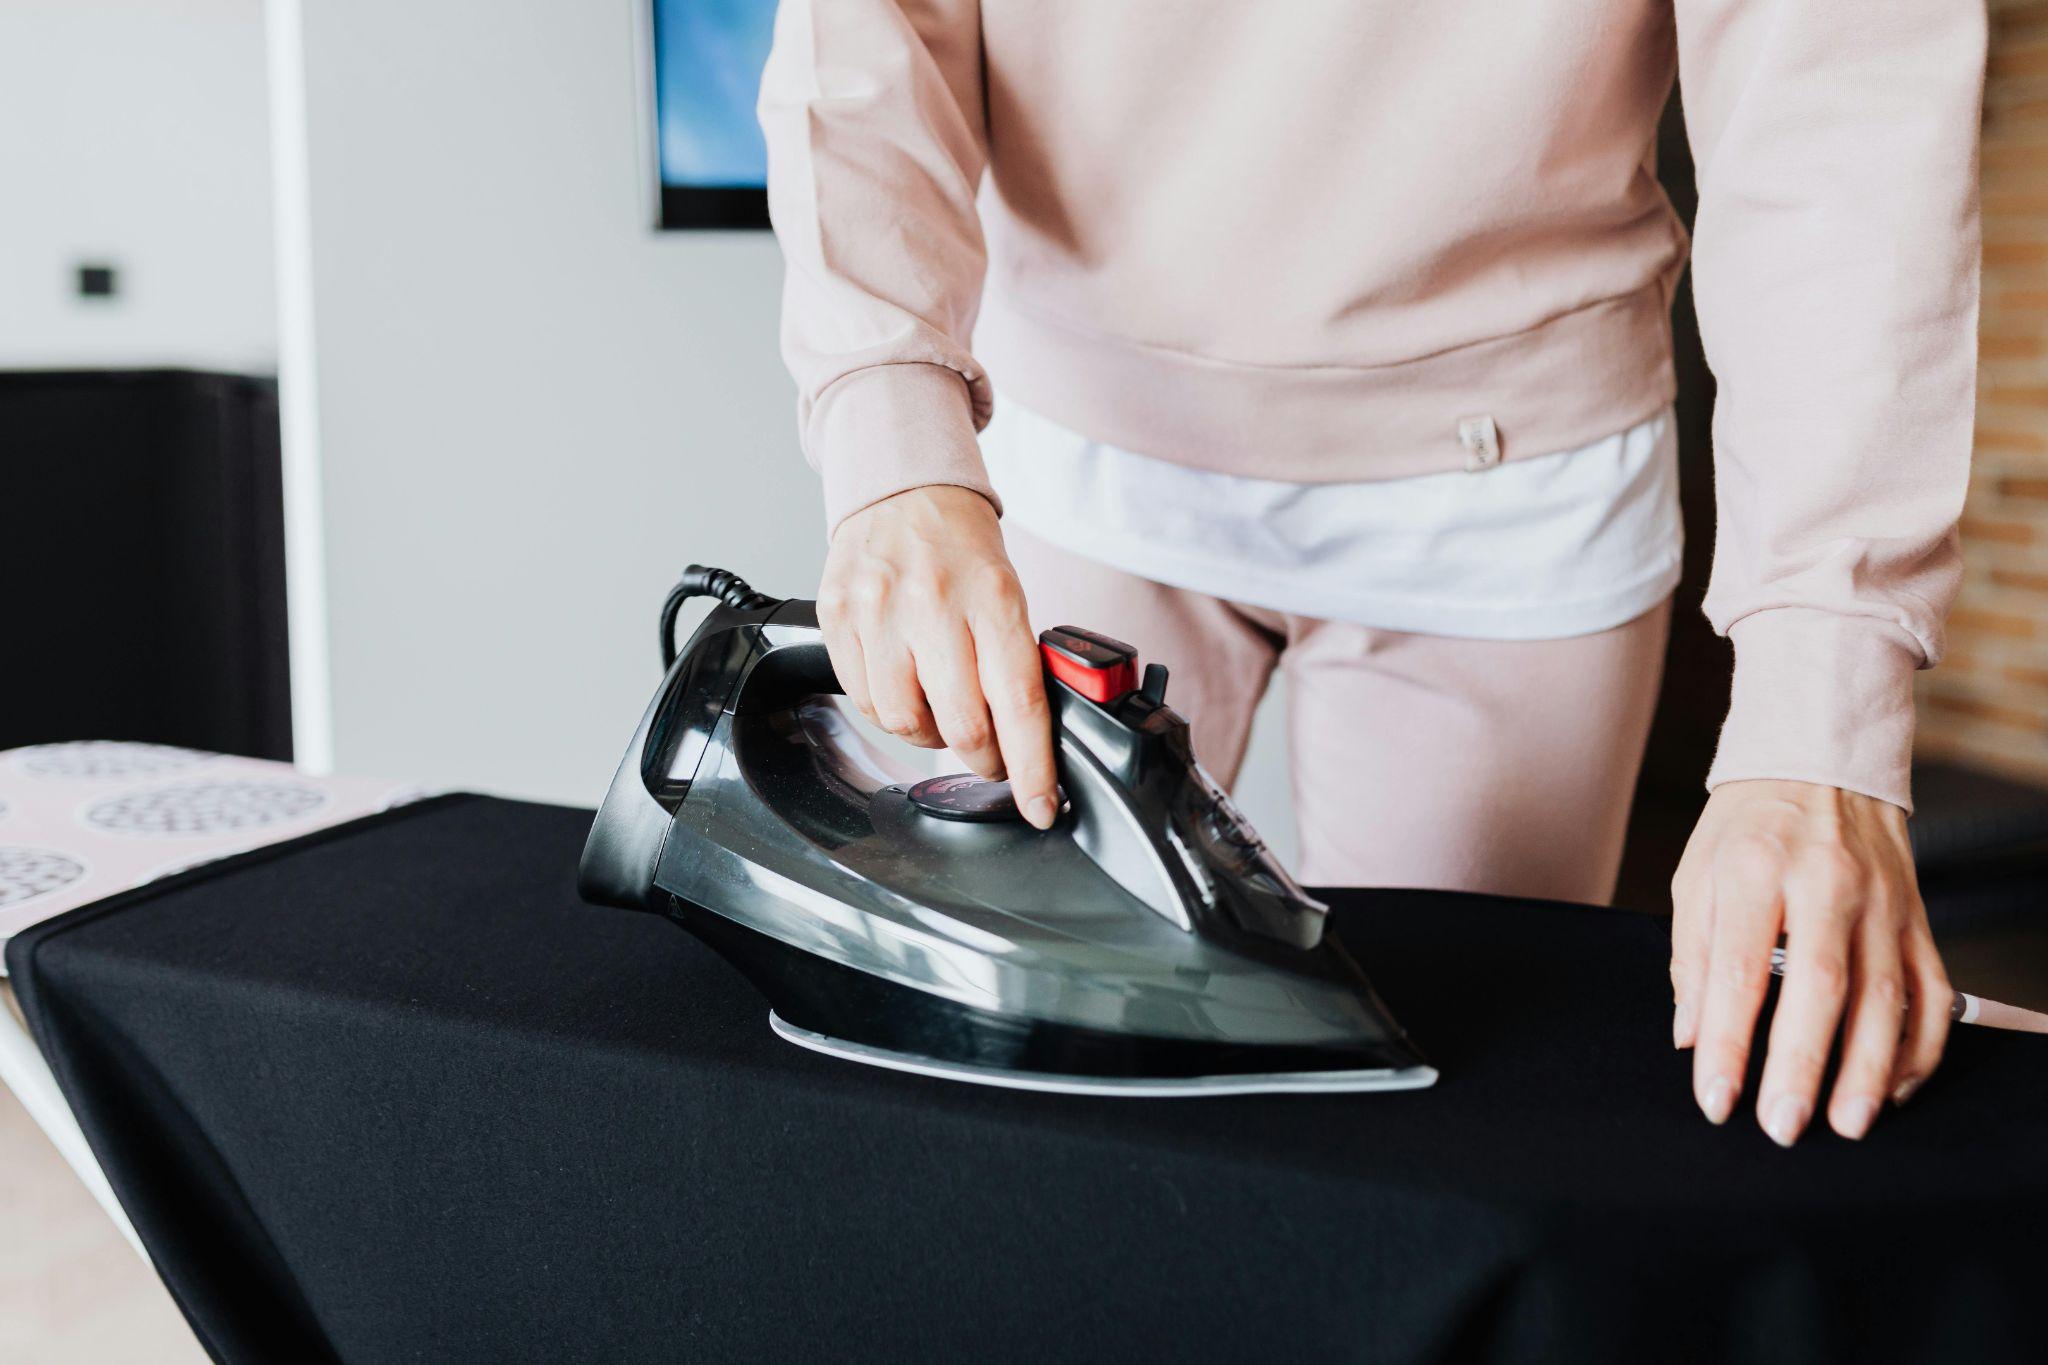
- A dry iron (no steam)
- A flat, heat-safe surface like an ironing board
Step-by-Step Guide: How to Apply Iron-On Patches Like a Pro
1. Prep Your Fabric
Make sure your garment is clean and wrinkle-free. Avoid applying patches over seams or zippers. Lay the item flat and preheat the iron based on the fabric type—medium for polyester or cotton, high for canvas.
2. Position the Patch
Place the patch where you want it. Use fabric chalk or pins to help with alignment if needed. Be intentional—once it’s bonded, it’s not easily removed.
3. Cover and Press
Place the cloth over the patch to shield it from direct heat. Press the iron firmly down for 60–90 seconds using circular motions. Focus on even pressure across the entire patch.
4. Check Adhesion
Let the area cool for a few minutes. Then lightly tug the patch edges. If it lifts, reapply heat for 15–20 seconds at a time. Never apply steam during this process—it weakens the adhesive.
5. Flip and Reinforce
Turn the garment inside out, and iron the reverse side of the patch for about 30 seconds. This helps secure the bond from both sides.
Common Mistakes to Avoid
- Skipping the cloth layer – this can melt the patch or leave residue on your iron.
- Using too low heat – the adhesive won’t activate.
- Ironing steam-on patches dry – check your patch type; some are steam-only.
- Washing too soon – always wait 24 hours before the first wash.
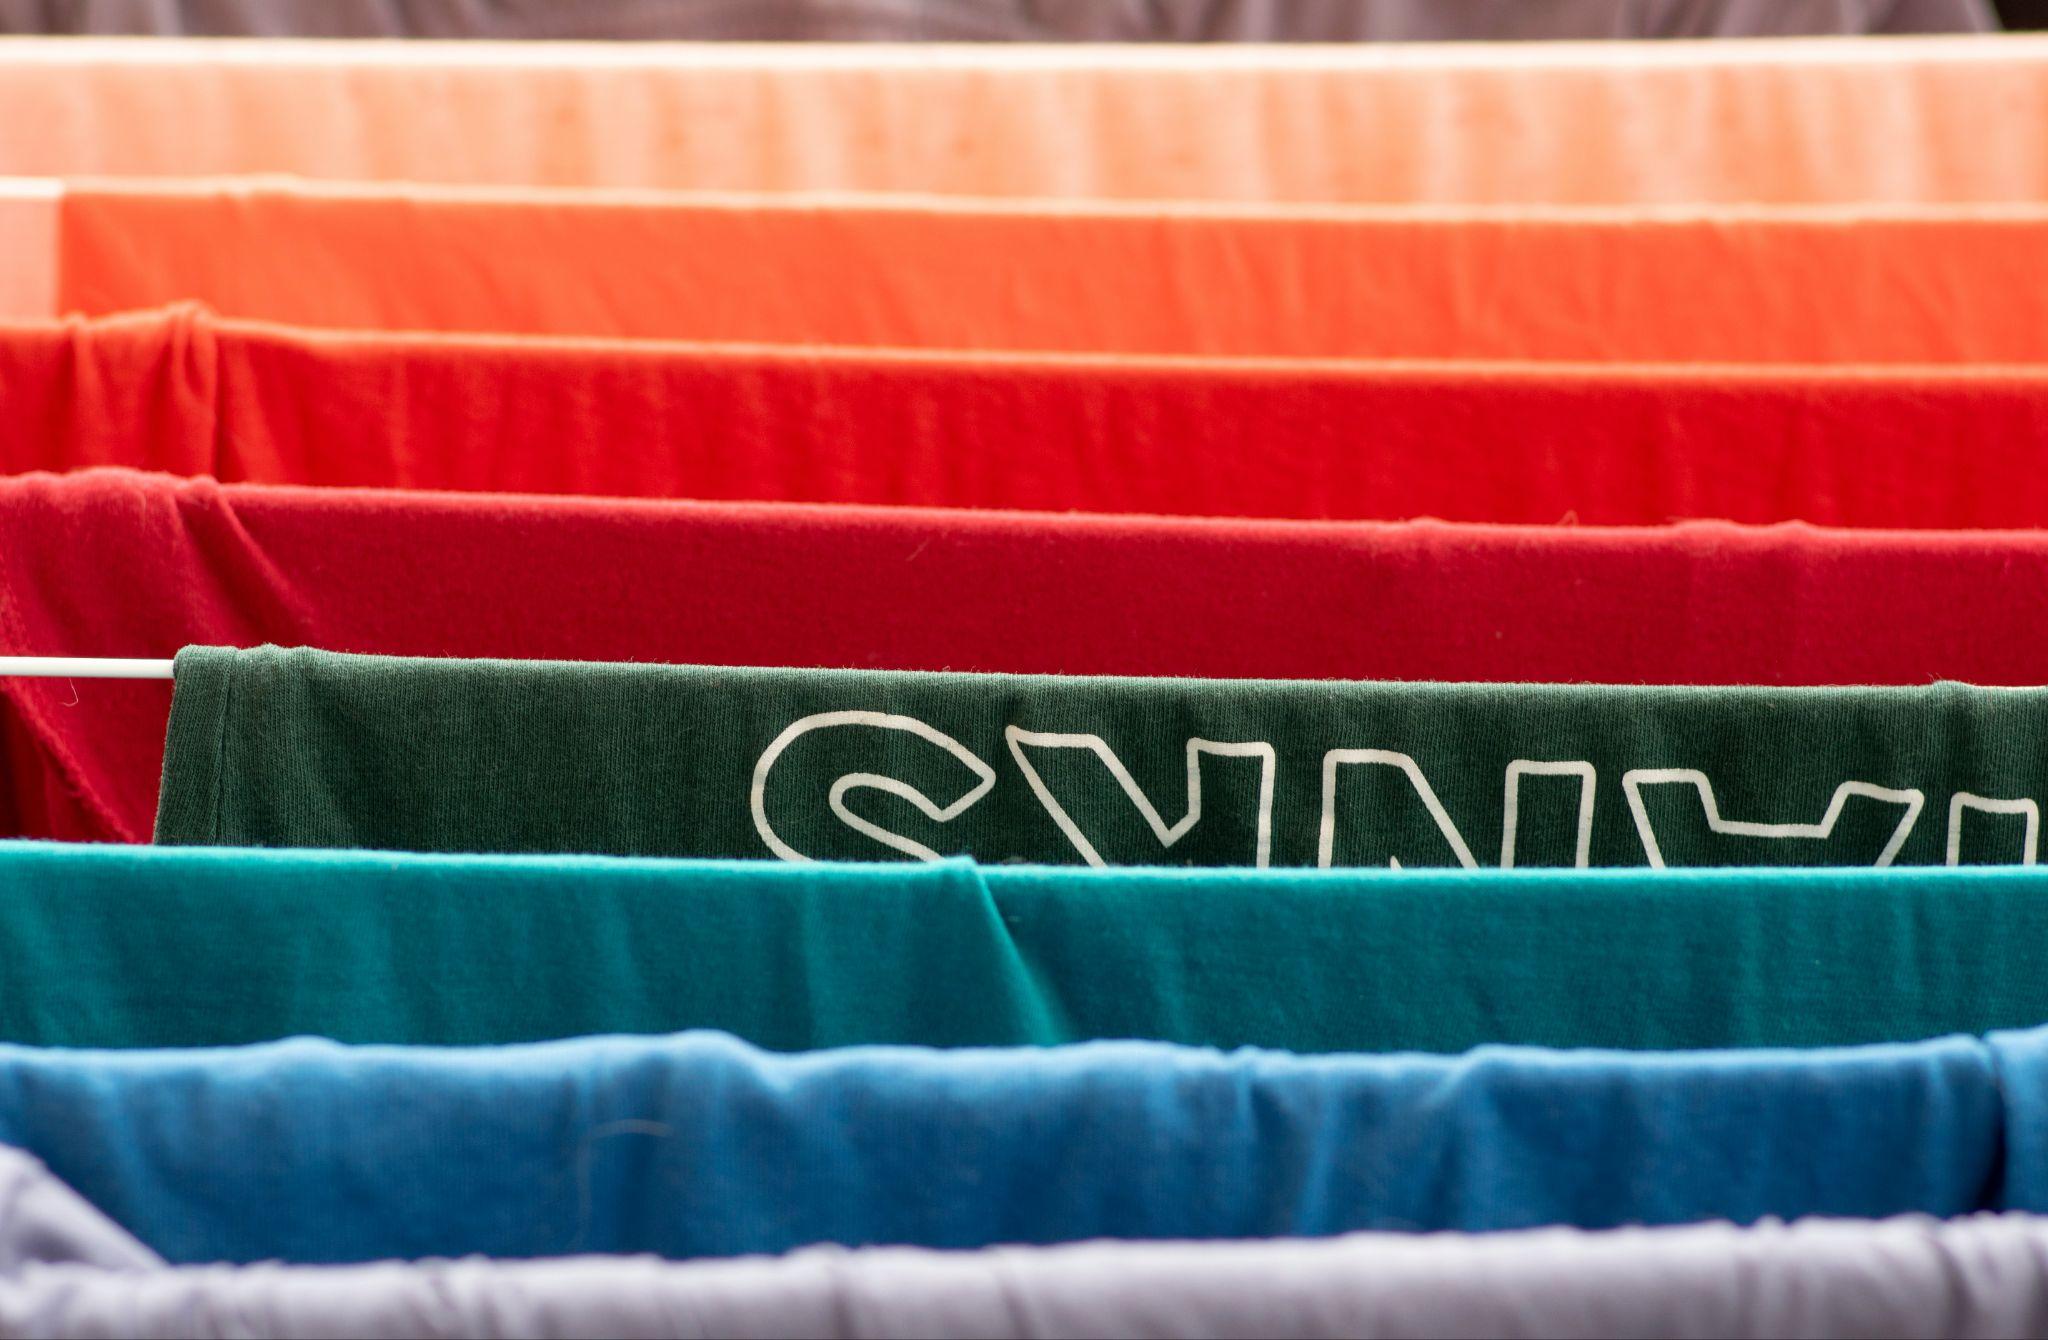
How to Wash Clothes with Iron-On Patches
To make your patch last:
- Turn clothes inside out before washing
- Use cold water on a gentle cycle
- Air dry instead of using a machine dryer
- Avoid harsh detergents and hot water, which can degrade the adhesive
Fashion-Forward Ideas with Iron-On Patches
Iron-on patches are perfect for:
- Revamping old denim jackets with florals or initials
- Personalising canvas tote bags or backpacks
- Making team uniforms or friendship outfits
- Covering faded spots or small fabric tears in a stylish way
- Adding flair to caps, shirts, or jeans for music festivals or themed parties
You can even layer multiple patches to create a collage-style design or match colours with your seasonal wardrobe.
Frequently Asked Questions
Find helpful answers to common questions about applying and caring for iron-on patches. This section covers tips on materials, heat settings, and what to do if your patch isn’t sticking properly.
Do you really need a tea towel or extra cloth? Or, can you put the iron directly on the patch?
Yes, a thin and clean tea towel, piece of fabric, or washcloth is an important part of the process, protecting the fabric from heat damage and helping to prevent adhesive residue on the iron.
Which fabrics and temperatures are best for iron-on patches?
Natural and durable fabrics such as cotton, wool and linen will work best, as they’re able to handle high heat. Delicate fibers, like polyester, require a lower heat setting. Always check the manufacturer’s instructions for maximum temperature allowance. Or, test the garment on a small sample fabric beforehand. Regardless of heat level, be sure to never use the water or steam setting while ironing your patches—water will interfere with adhesive bonding.
Why isn’t my iron-on patch sticking to my garment?
This is often caused by too low of a heat setting. Start again, giving your iron plenty of time to warm up. If you’re working with a delicate fiber, it’s best to proceed with caution while slowly increasing the iron’s heat in tiny increments as you go. Keep a close eye on your garment and patch, as to not cause damage.
Final Thoughts
Iron-on patches aren’t just trendy—they’re practical, fun, and beginner-friendly. Whether you’re updating a wardrobe staple or crafting a gift, they give you creative control and a unique look. Just follow the prep, press, and protect method—and you’ll have long-lasting results.
Disclaimer: This article is intended for informational and educational purposes only. Any external links included, such as those to The/Studio, are provided solely as non-affiliate resources to support readers’ understanding of the topic. Stylorize.uk does not have any sponsorship, endorsement, or commercial relationship with the mentioned brands. Always follow manufacturer instructions and perform a patch test before applying heat-based products to fabrics.