
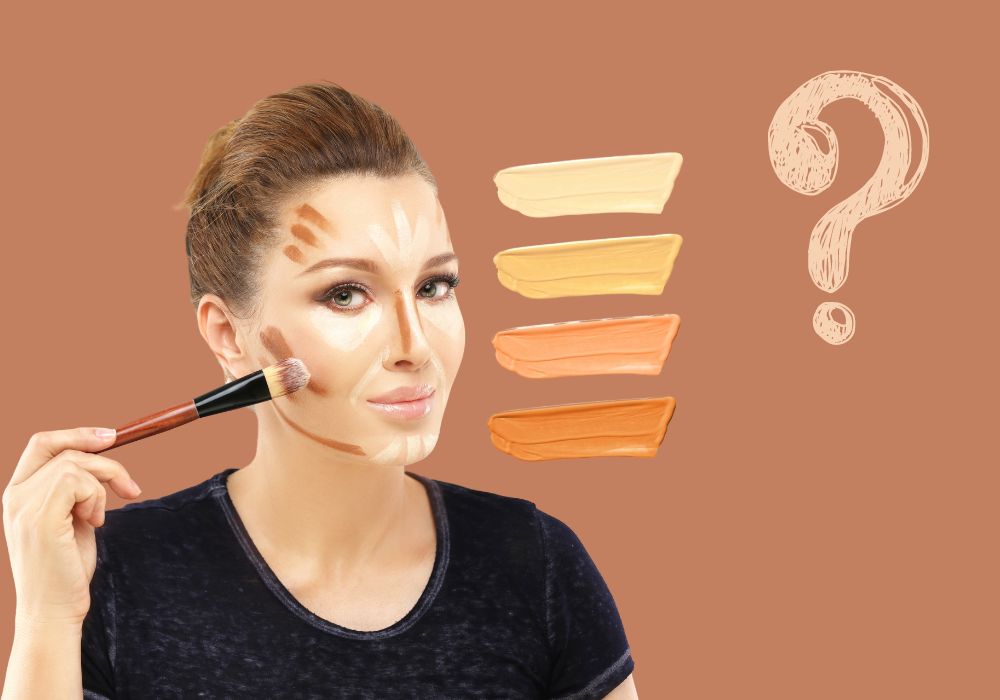
Contouring and highlighting can transform your makeup routine, enhancing your natural features and giving you a sculpted, radiant look. Whether you’re a makeup novice or a beauty enthusiast, learning how to contour and highlight like a pro can elevate your makeup game.
This step-by-step tutorial will guide you through the process, complete with expert tips and personal anecdotes to help you master the art.
Understanding Contouring and Highlighting
What Is Contouring?
Contouring involves using makeup to define and enhance the natural structure of your face. By applying a darker shade to the hollows of your face, you can create the illusion of shadows, making certain areas recede. As makeup artist Mario Dedivanovic explains, “Contouring is all about enhancing your natural bone structure. It’s not about creating something that isn’t there, but rather emphasizing what you already have” (Source: MasterClass).
What Is Highlighting?
Highlighting, on the other hand, involves applying a lighter shade to the high points of your face to bring them forward. This technique adds dimension and gives your skin a luminous glow. According to Pat McGrath, “Highlighting is like adding light to the face. It can make you look more awake and refreshed” (Source: Vogue).
Step-by-Step Tutorial
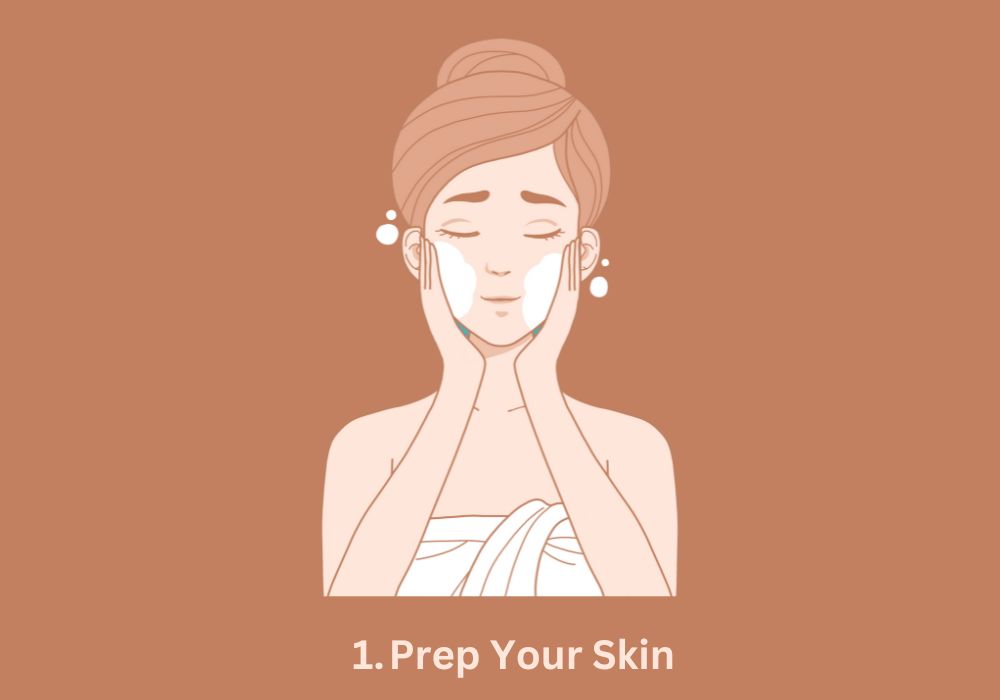
Step 1: Prep Your Skin
Before you start contouring and highlighting, it’s essential to prep your skin. Cleanse, tone, and moisturize your face to create a smooth canvas for your makeup. Applying a primer can help your makeup last longer and go on more evenly.
I used to skip primer, thinking it was unnecessary. Once I started using it, I noticed a significant improvement in how my makeup applied and lasted throughout the day.
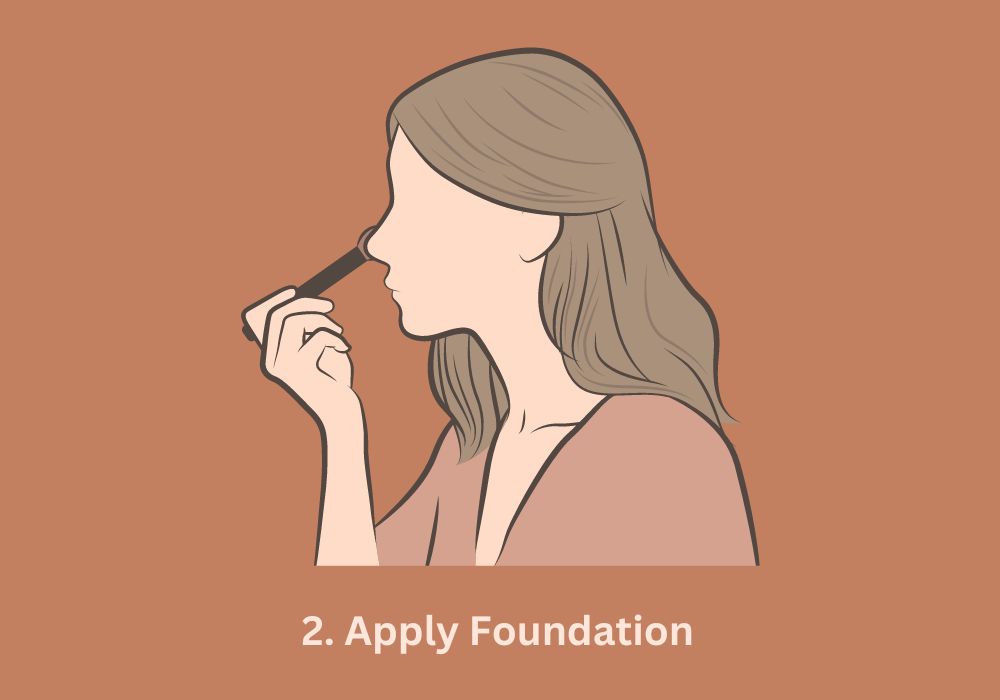
Step 2: Apply Foundation
Apply your foundation evenly across your face to create a uniform base. This will help the contour and highlight products blend seamlessly into your skin.
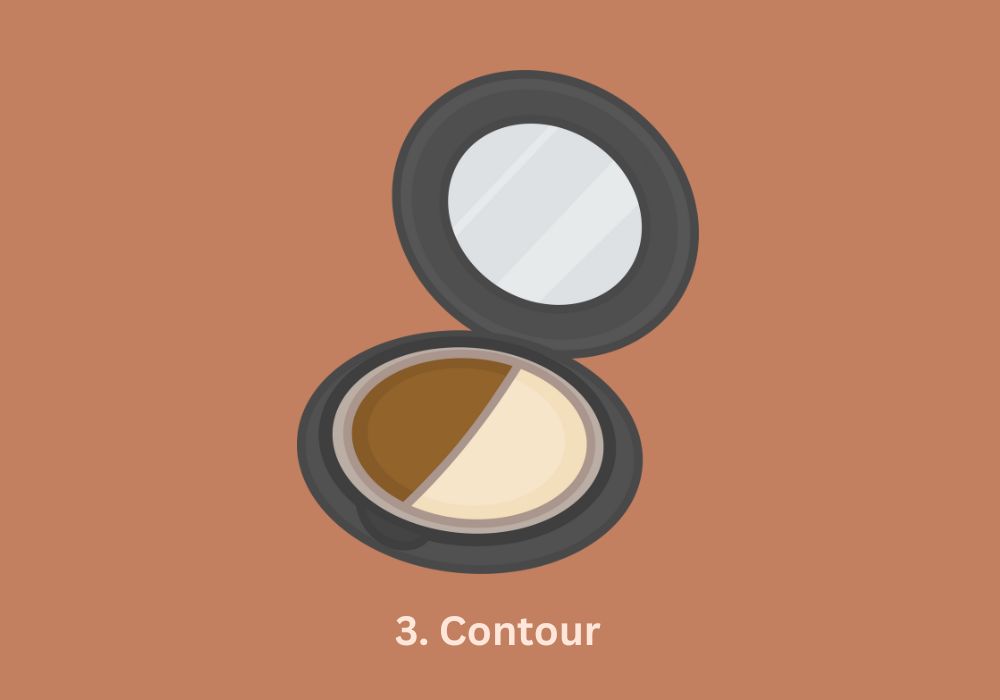
Step 3: Contour
Choose the Right Product
You can use cream, powder, or stick products for contouring. Choose a shade that is one to two shades darker than your natural skin tone.
Where to Contour
- Cheekbones: Apply the contour product in the hollows of your cheeks, starting from your ear and blending towards the middle of your cheeks.
- Forehead: Apply along your hairline to create the illusion of a smaller forehead.
- Nose: Apply along the sides of your nose to make it appear slimmer.
- Jawline: Apply along your jawline to define it and reduce the appearance of a double chin.
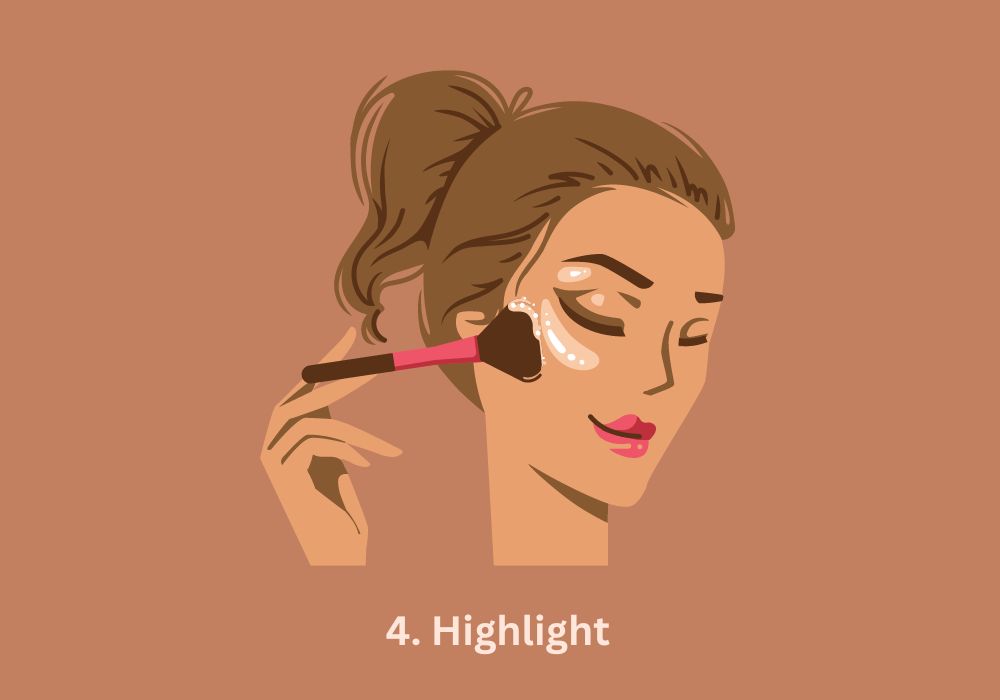
Step 4: Highlight
Choose the Right Product
For highlighting, you can use a liquid, cream, or powder highlighter. Choose a shade that is one to two shades lighter than your natural skin tone.
Where to Highlight
- Cheekbones: Apply the highlighter on the tops of your cheekbones.
- Brow Bone: Apply under your eyebrows to lift your brows.
- Bridge of the Nose: Apply a thin line down the center of your nose.
- Cupid’s Bow: Apply above your upper lip to make it appear fuller.
- Forehead and Chin: Apply a small amount to the center of your forehead and chin to bring these areas forward.
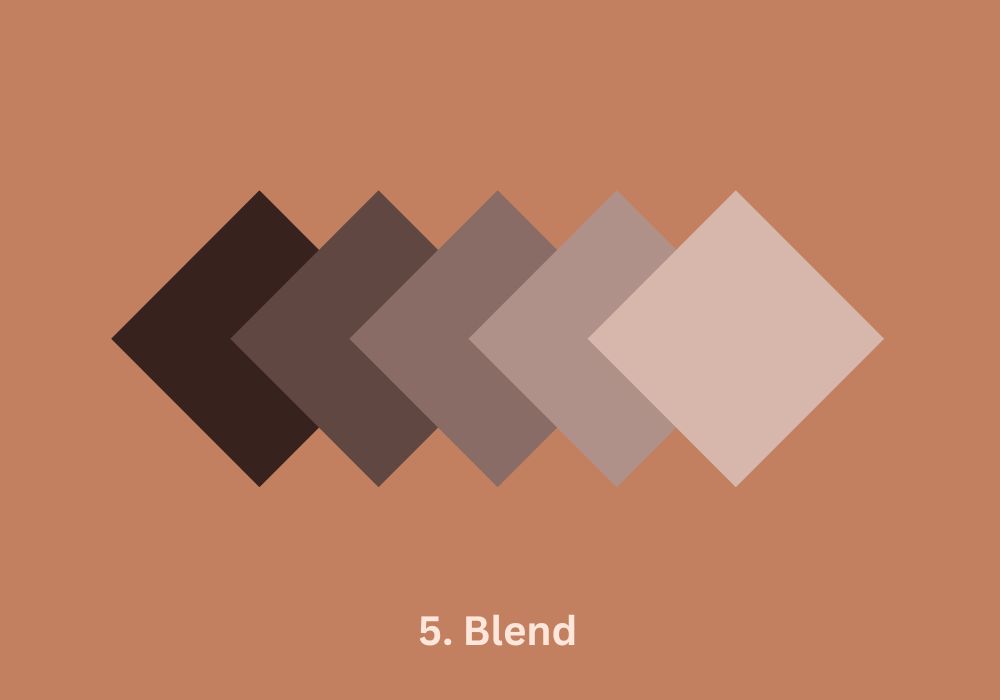
Step 5: Blend
Blending is the key to natural-looking contour and highlight. Use a damp beauty blender or a soft brush to blend the products into your skin. Charlotte Tilbury advises, “The key to good contouring and highlighting is blending. Use a damp beauty blender or a soft brush to blend the product into your skin for a natural look” (Source: Charlotte Tilbury’s Website).
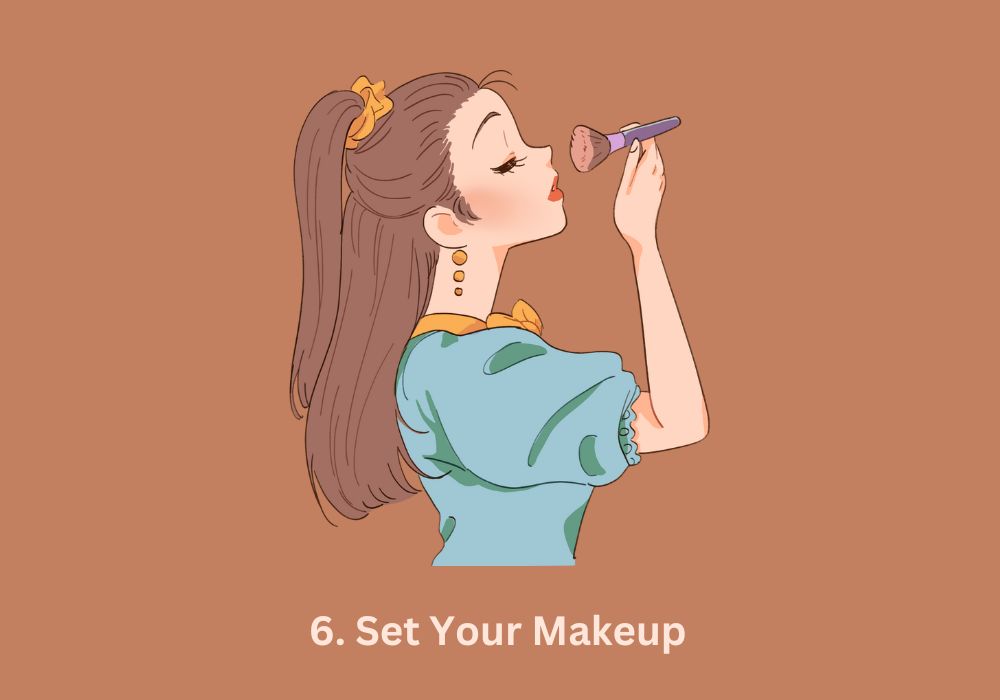
Step 6: Set Your Makeup
To ensure your contour and highlight stay in place all day, set your makeup with a translucent powder. This will also help control shine and keep your skin looking fresh.
I once skipped setting my makeup and found that my contour had faded by midday. Since then, setting powder has become a non-negotiable step in my routine.
Expert Tips and Common Mistakes
Avoid Overdoing It
One common mistake is applying too much product. As makeup artist Hung Vanngo points out, “Less is more when it comes to makeup. Start with a light hand and build up coverage as needed. It’s easier to add more than to take away” (Source: Hung Vanngo on Instagram).
Use the Right Tools
Using the right tools can make a significant difference in your makeup application. Pat McGrath emphasizes, “The right tools are essential for flawless makeup application. Invest in good brushes and sponges, and learn how to use them correctly” (Source: Vogue).
Experiment and Have Fun
Don’t be afraid to experiment with different techniques and products. Beauty influencer NikkieTutorials encourages, “Don’t be afraid to experiment with different contouring and highlighting techniques. There are no rules, so have fun and find what works best for you” (Source: NikkieTutorials’ YouTube Channel).
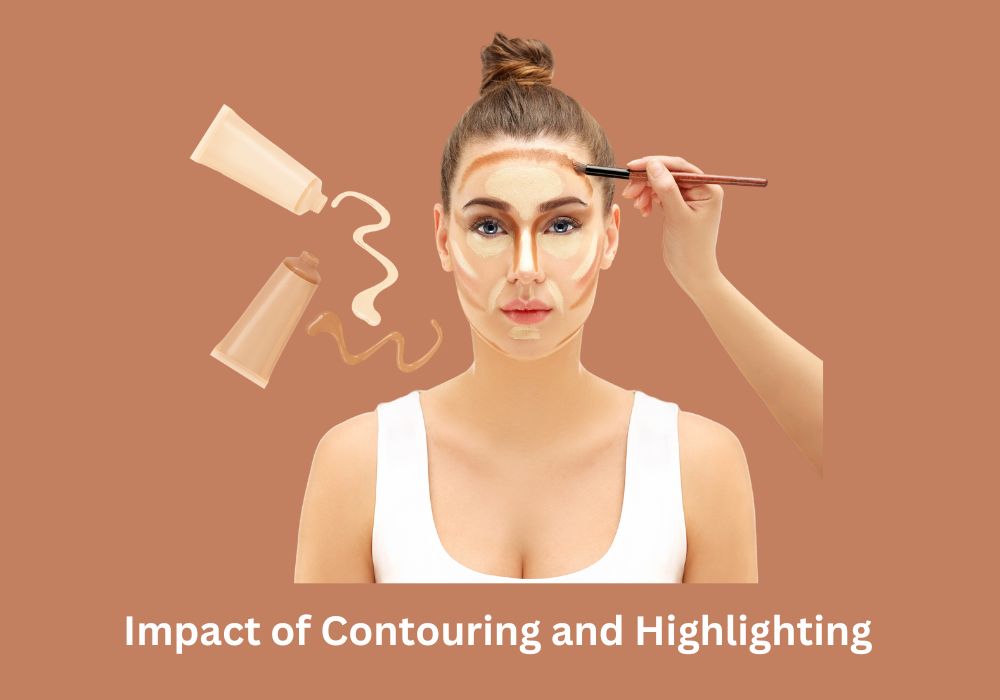
The Impact of Contouring and Highlighting
Boosting Confidence
Contouring and highlighting can significantly impact your self-esteem and body image. A study published in Body Image found that these makeup techniques can boost self-esteem and enhance body image.
Enhancing Attractiveness
Research has shown that contouring and highlighting can enhance perceived attractiveness. A study in Perception found that these techniques can significantly improve how attractive someone appears.
Improving First Impressions
Makeup, including contouring and highlighting, can influence first impressions. A study published in Computers in Human Behavior examined how makeup affects first impressions in online interactions, demonstrating its power in shaping perceptions of attractiveness, trustworthiness, and competence.
I remember the first time I contoured and highlighted for a job interview. Not only did I feel more confident, but I also received compliments on my polished appearance. It reminded me of the power of makeup to enhance not just how you look, but also how you feel.
Conclusion
Contouring and highlighting are powerful techniques that can enhance your natural beauty and boost your confidence. By following this step-by-step tutorial and incorporating expert tips, you can master the art of contouring and highlighting like a pro. Remember to blend well, use the right tools, and have fun experimenting with different looks. With practice, you’ll be able to create a sculpted, radiant look that enhances your unique features.
References
- Mario Dedivanovic on MasterClass
- Vogue
- Lisa Eldridge’s YouTube Channel
- Charlotte Tilbury’s Website
- NikkieTutorials’ YouTube Channel
- Perception
- Computers in Human Behavior
- Body Image
- PLoS ONE
- Cyberpsychology, Behavior, and Social Networking
With these guidelines and tips, you’re well on your way to mastering the art of contouring and highlighting.