
Understanding Eyebrow Lamination and Tint
Eyebrow lamination and tinting are popular in the beauty industry. Many people now choose these brow treatments to get perfectly shaped and defined eyebrows. But what are these treatments?
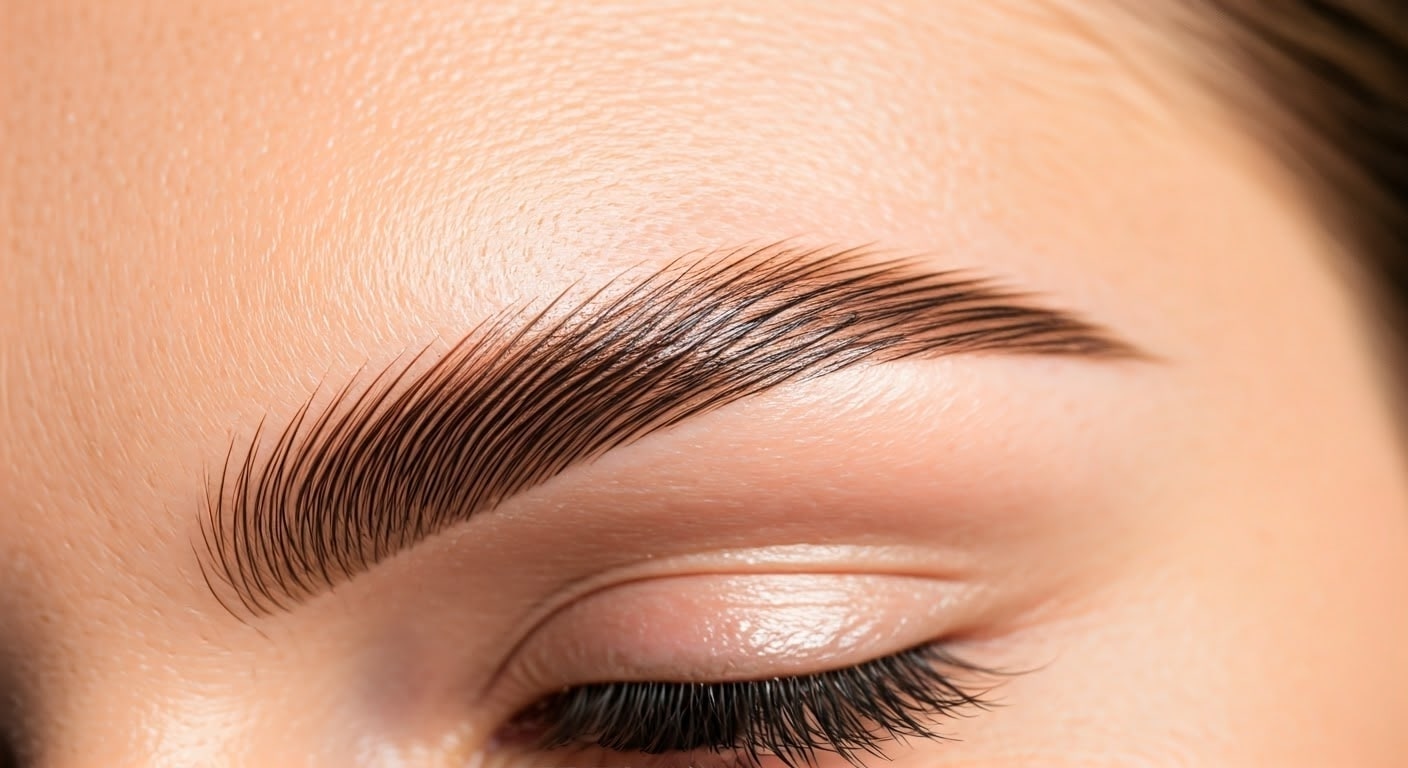
Eyebrow lamination is a short-term brow treatment. It straightens and lifts the brow hairs, making them look fuller and more even. You can think of it like a keratin treatment that smooths and shapes the hairs for a sleek look. Eyebrow tinting, on the other hand, uses a semi-permanent dye to boost the color and shape of your eyebrows. It adds depth, making your brows stand out and nicely framing your face. Using both eyebrow lamination and tinting is a great way to enhance your natural beauty and get the brows you want.
The Basics of Eyebrow Lamination
Eyebrow lamination is a multi-step treatment. It changes the shape and fullness of your eyebrow hairs. This method helps to make your natural brows look thicker, smoother, and more defined.
The lamination process starts with applying a lifting solution to your eyebrow hairs. This solution relaxes the bonds in the hair, making them easier to shape. After that, the hairs are brushed upward and set into place. This gives your brows a lifted and uniform look.
Next, a neutralizer is used. It helps to reform the bonds in the hairs, keeping them in the new shape. The outcome is a semi-permanent lift for your brows. This look can last for several weeks, enhancing your natural beauty. It also makes your daily makeup routine simpler.
The Charm of Eyebrow Tinting
Eyebrow tinting is a great way to make your brows look better. It gives them more depth, definition, and a fuller appearance. Unlike old eyebrow pencils or powders, which can look rough, eyebrow tinting uses a semi-permanent dye. This dye gently improves the colour of your brow hairs.
The tinting process starts by choosing a brow tint that fits your skin tone and hair colour. The tint is then carefully put on your eyebrow hairs, matching your desired shape and fullness. As time goes by, the tint makes the brow hairs a bit darker, which creates a natural shadow effect.
In the end, you get beautifully defined eyebrows that match your face and give you a polished look. Say goodbye to thin, undefined brows! With eyebrow tinting, you can enjoy simple beauty that lasts.
Preparing for Your At-Home Brow Makeover
Before you start your brow, lamination and tinting at home, it’s important to prepare well. Think of this as your checklist to make sure everything goes smoothly.
First, get all the tools and products you need ready before you begin. Make sure your workspace is clean and organized to prevent any problems. Carefully read the instructions of the lamination and tinting products you chose. Finally, do a patch test 24 hours in advance to see if you have any allergies or sensitivities.
Essential Tools and Products You’ll Need
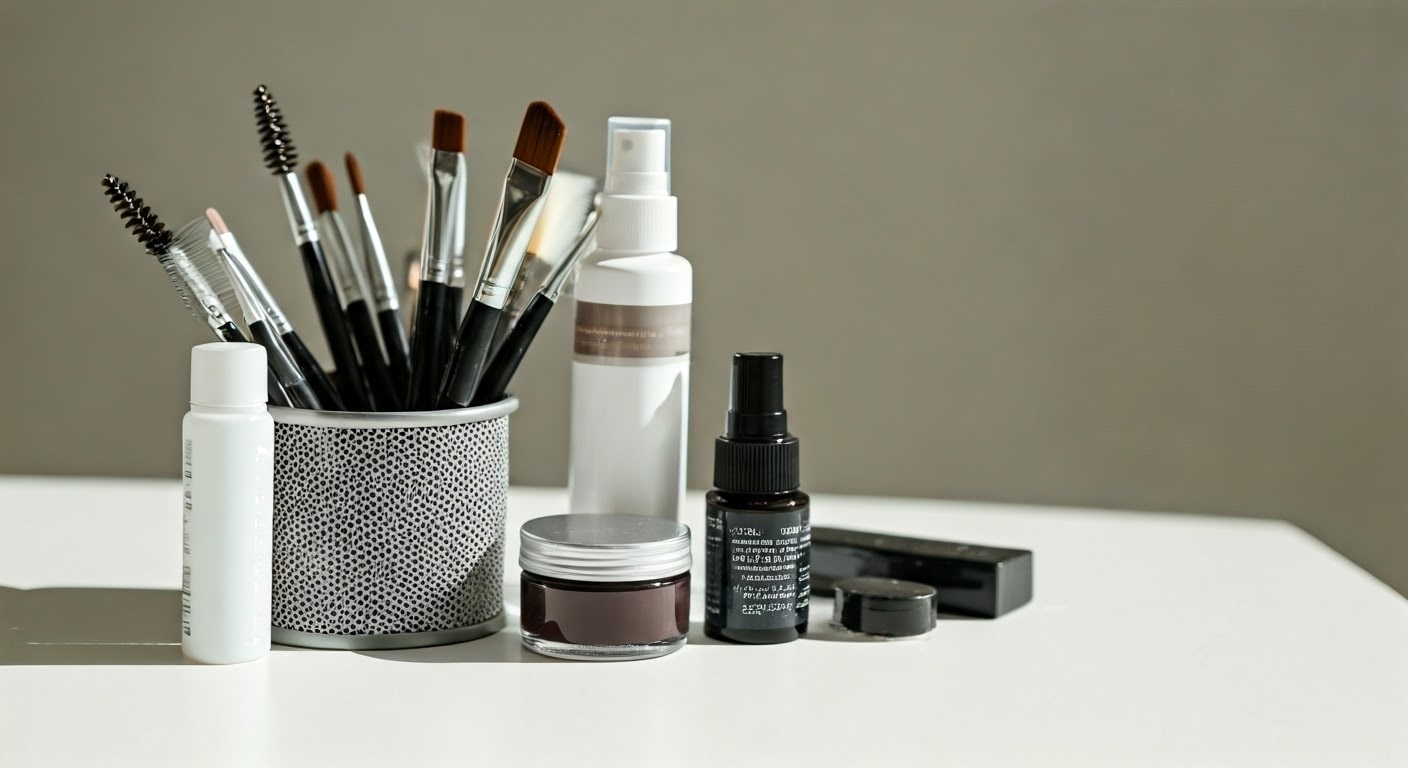
Having the right tools and products is key for a great brow makeover at home. Here are the things you need for your DIY brow lamination and tint session:
- Brow Lamination Kit: Pick a kit made for sensitive skin. Be sure to follow the instructions. This kit usually has a lifting solution, a neutralizer, and a nourishing oil.
- Brow Tint: Choose a color that matches or is slightly darker than your natural brow color. It’s best to start with a lighter shade. You can always make it darker if you want.
- Other Essentials: Get cotton swabs, a spoolie brush, cling film, a timer, and petroleum jelly to protect the skin around your brows.
Before doing the full treatment, make sure to do a patch test 24 hours in advance. This means putting a little of the lamination solution and tint on a small spot of skin, like behind your ear, to see if there are any bad reactions.
Assessing Your Brows: What to Know Before You Start
Before you start the transformation process, take a moment to look at your brows. Think about what you want to achieve. Knowing your brow type and your goals will help with lamination and tinting.
Consider how your natural brows look. Do you have unruly hairs that need to be controlled? Are your brows thin in some spots, and do you want a fuller look? These features are important. They will help you adjust the lamination and tinting to fit your needs.
Always remember, the goal of brow lamination and tinting is to enhance your natural features, not hide them. Embrace your unique brow shape. Use these methods to create brows that fit well with your face.
Step-by-Step Guide to DIY Brow Lamination & Tint
Ready to start your DIY brow makeover? Use this easy guide to create salon-quality brows at home. With some practice and patience, you will soon be a pro at brow lamination and tinting!
Make sure to follow the instructions in your lamination and tinting kits closely. If you need help, don’t hesitate to check out online tutorials or ask a professional for advice.
Step 1: Cleansing and Preparing Your Brows
Start by making sure your brow area is clean. Remove any makeup, oils, or skincare products. This step helps the lamination and tinting solutions stick well to your brow hairs for the best results.
Use a gentle cleanser or makeup remover meant for the eye area. Carefully wipe away any leftover products. Don’t use strong soaps or oily products. They can mess up the lamination and tinting process.
After your brows are clean, pat them dry with a clean towel. Then, gently brush them with a spoolie to remove any tangles or knots.
Step 2: Applying the Lamination Solution
Now, it’s time to use the lamination solution. This is an important step in the brow lamination process. Take the applicator from your kit and carefully put the solution on your brow hairs. Make sure each hair is covered evenly.
The lamination solution works by breaking down the bonds in your eyebrow hairs. This makes them easier to shape. Be careful not to get the solution in your eyes or on your skin. If it happens, rinse with water right away.
After applying the solution, cover your brows with a small piece of cling film. This creates warmth and humidity, helping the solution to work better. Let it sit for the time mentioned in the kit’s instructions, which is usually about 5 to 10 minutes.
Step 3: Tinting for the Perfect Shade
With the lamination solution done, it’s time to add some colour with brow tinting. First, prepare your brow tint based on the instructions in your tinting kit.
Next, take a clean, angled brush or the applicator in the kit. Use it to apply the brow tint to your eyebrows. Follow your desired shape and fullness. If you want a bolder look, apply more tint. For a softer effect, use less.
Let the tint sit for the time suggested in the kit, usually 5-10 minutes. The longer you keep it on, the darker it will be. When the time is up, gently remove the tint with a damp cotton pad. Wipe from the center of your face outwards.
Step 4: Setting Your Brows
After you finish the lamination and tinting, it’s time to style your brows. Take a clean spoolie brush and gently comb your eyebrow hairs upwards to shape them the way you want.
The lamination process keeps your brow hairs lifted and in place. The tint adds color and definition to your brows. Now that your brows look great, use a nourishing oil or serum made for the eye area. This helps keep your brows hydrated and healthy. This step helps bring back moisture lost during the chemical processes and overall improves brow health.
Your brow lamination and tint results can last for a few weeks. This depends on how fast your hair grows and how well you care for them afterward.
Post-Treatment Care for Laminated and Tinted Brows
Congratulations on your newly laminated and tinted brows! To keep them looking great and to make the treatment last longer, proper aftercare is very important.
For the first 24 hours after your treatment, do not get your brows wet. Stay away from applying makeup, lotions, or any other products to the brow area. It is also a good idea to not rub or touch your brows too much. After the first 24 hours, keep your brows well-hydrated. Use a nourishing oil or serum made for the eye area.
Keeping Your Brows Hydrated
Hydration is very important for taking care of your laminated and tinted brows. Keeping them moisturized helps them stay healthy, shiny, and last longer.
It is a good idea to apply a nourishing oil or serum to your brows every day. Gently massage the product into your brows, paying attention to the hair roots. This will keep the hairs soft and prevent them from breaking. Castor oil, almond oil, and jojoba oil are great options because they are good for moisturizing and conditioning.
Remember, good aftercare is key to making your brow lamination and tint last longer. This way, your brows will look their best for weeks.
What to Avoid After Brow Lamination
While brow lamination can give you beautiful brows, you need to avoid some things after the treatment to keep your skin safe.
First, don’t use harsh skincare products near your brows. Stay away from retinol creams, exfoliating scrubs, or products with strong chemicals. These can irritate the sensitive skin in the brow area.
Also, keep away from heat and steam. Do not take hot showers or go to saunas for at least 48 hours after treatment. The heat can harm the lamination solution and make your results last a shorter time.
Finally, if you notice any unusual redness, itching, or irritation after brow lamination, stop using new products. If it doesn’t get better, consult a dermatologist.