
If you’re looking for a hairstyle that blends style, versatility, and a bit of edge, the Blowout Taper Fade is exactly what you need. This haircut has been turning heads everywhere, offering a fresh and effortless vibe. Whether you’re into a clean temple fade, a sharp Brooklyn fade, or a voluminous Afro blowout, the blowout taper fade fits right in with today’s hottest trends.
In this tutorial, we’ll walk you through everything you need to know to master the blowout taper haircut at home or explain it better to your barber.
What is a Blowout Taper Fade?
A Blowout Taper Fade combines the airy lift of a blowout with the neat, gradual blending of a taper fade. Unlike a classic skin fade or fade vs. taper cuts, the blowout taper keeps more volume on top, giving your hair a naturally full look while keeping the sides clean and sharp.
This style works great for different hair types, whether you have curly hair, straight hair, or even textured styles that need some serious hair volume styling.
Tools You’ll Need
Before you start your taper fade blowout, gather these essentials:
- Clippers with various clipper guard sizes
- Blow dryer with a diffuser attachment
- Round brush
- Styling gel or mousse
- Hair pomade or cream for finishing
- Fine-tooth comb
Step-by-Step Blowout Taper Fade Haircut Tutorial
Step 1: Prep Your Hair
Start with clean, damp hair. Apply a lightweight mousse to help hold the volume during your haircut transformation. A little hair styling product goes a long way in creating that signature fluffy look.
Step 2: Section and Comb
Use a fine-tooth comb to section the hair. Define your low taper blowout, mid taper blowout, or high taper blowout depending on where you want the fade to start.
If you’re aiming for a blowout taper with design, leave extra space in the area you want the design to appear.
Step 3: Begin Tapering
Attach the right clipper guard size based on how short you want the fade. For a low taper blowout, start just above the ears. For a mid taper blowout, begin around the temples. If you prefer a high taper blowout, start higher, closer to the crown.
Gently glide the clippers upward, flicking outwards to create a smooth blend between the lengths.
Step 4: Create the Fade
Now switch to a lower guard size and work on blending the lower portion of the hair near the ears and neckline into the longer section above. Use the clippers in small, controlled motions to avoid cutting too high.
Blend carefully, especially if you are styling a taper fade blowout with a textured fringe.
Step 5: Shape the Top
Blow-dry the top section using a round brush to lift the roots. For straight hair, direct the hair backward for a sleek finish. For a blowout taper for curly hair, use a diffuser to maintain those natural curls while creating volume.
The goal is to give your crown a lightweight, effortless lift while keeping everything controlled.
Step 6: Define the Edges
Once the top is shaped, use your clippers or a straight razor to clean up the edges. Tidy up around the forehead, temples, and sideburns for that crisp finish seen in the best Brooklyn fade styles.
This step is crucial if you’re blending the Afro blowout with the blowout taper fade for a sharp, neat look.
Step 7: Style and Finish
Apply a light pomade or styling cream to add definition. For extra flair, add a line-up or creative part if you want a blowout taper with design. This will set your haircut apart and show off your barbering techniques.
A quick blast of hairspray will help lock in the volume, perfect for a full-day look.
Best Hair Types for a Blowout Taper Fade
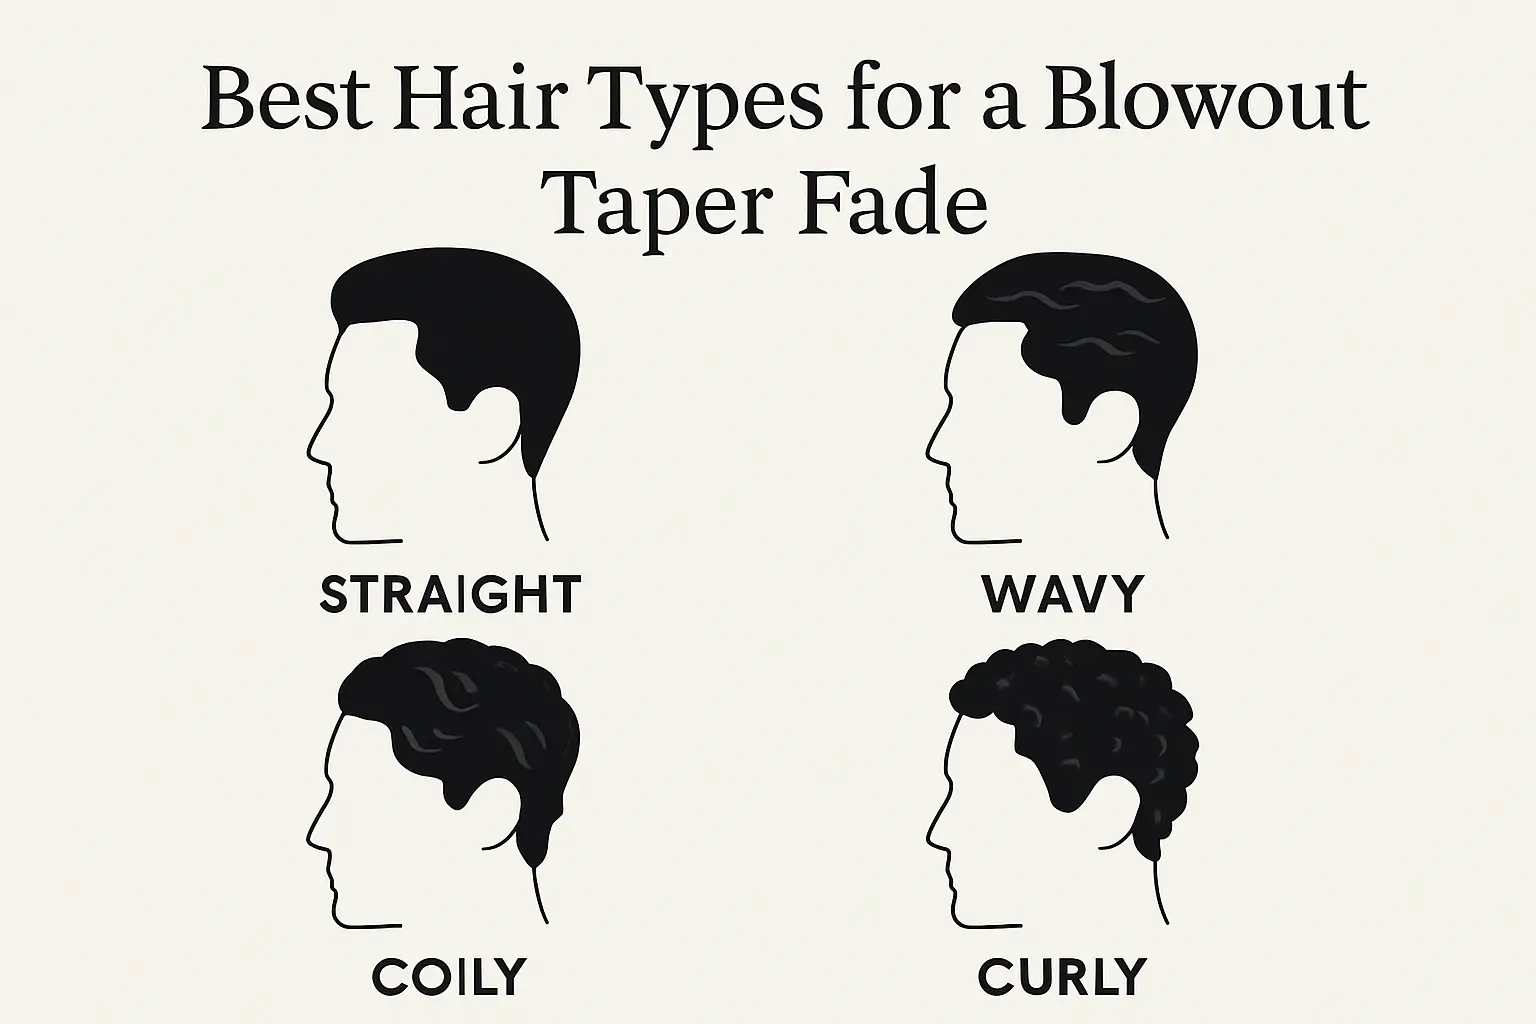
One of the best things about the blowout fade haircut is its adaptability. It works wonders for:
- Thick hair: Creates a controlled but full look.
- Curly hair: Defines curls without losing volume.
- Straight hair: Adds much-needed height and movement.
Whether you’re maintaining a short textured style or rocking an Afro blowout, there’s a blowout taper for straight hair or curly hair that suits you.
Blowout Taper Fade Styling Tips
If you want your blowout taper maintenance to be easy and long-lasting:
- Use lightweight products to avoid weighing down the top.
- Refresh the blowout every few days using a dry shampoo.
- Visit your barber for a quick taper touch-up every 2–3 weeks.
Keeping your haircut fresh is key to showcasing your haircut transformation skills.
Top Variations to Try
Want to change it up? Here are a few exciting versions of the blowout taper haircut:
- Blowout Taper with Beard: Blend your fade into a neatly groomed beard for a sharp contrast.
- Blowout Taper with Hard Part: Add a deep parting line for a bold statement.
- Blowout Taper with Temple Fade: Focus the fade around the temples for a cleaner, more refined finish.
You can even combine the blowout taper with a textured fringe for a softer, trendier look.
Common Questions About Blowout Taper Fade
How long does a blowout taper fade last?
With proper blowout taper maintenance, it should look fresh for about 2–3 weeks before needing a touch-up.
Can I do a blowout taper fade at home?
Yes, if you have the right tools and take it slow. Mastering barbering techniques like blending and shaping is the key.
Is the blowout taper fade suitable for formal occasions?
Absolutely! With a bit of styling, it can easily transition from casual to polished.
Conclusion
The Blowout Taper Fade isn’t just a haircut; it’s a confident statement. With its perfect blend of volume, precision, and trendiness, it remains one of the most versatile and stylish choices for men today. Whether you go for a low taper blowout, a dramatic high taper blowout, or mix in a bit of hair volume styling with an Afro blowout, you’ll be showcasing serious men’s hairstyle trends.
By following this step-by-step guide and using the right products and techniques, you can easily master the blowout taper fade haircut. So grab your clippers, plug in your blow dryer, and get ready for a transformation that’s sure to turn heads wherever you go.